Motorbikes
Honda Transalp XL 650 V
 Adjustments:
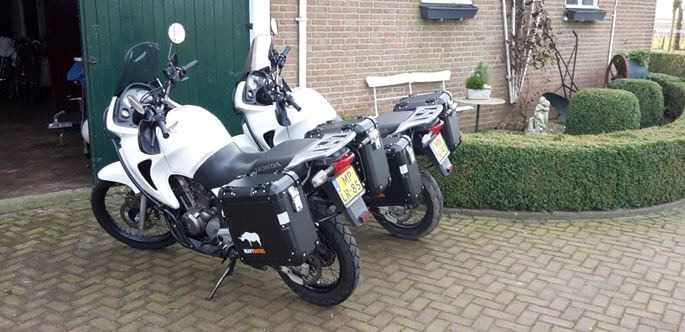
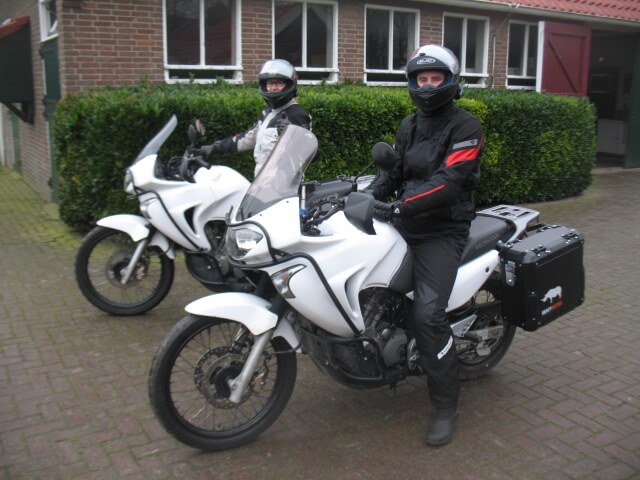
One year after we bought a Honda Transalp XL 650 V, we decided to buy another one. Also the second one has been used before as a police motorbike. We think there are a lot of advantages to have the same bikes concerning both, technical acknowledge and bringing along the spare parts during one of our adventures.
Specifications Honda Transalp XL 650 V
| Engine capacity | 647 cm3 |
| Length | 2.257 mm |
| Width | 922 mm |
| Height | 1.318 |
| Weight | 192 kg |
| Maximum carrying capacity | 180 kg |
| Fuel tank | 19,6 l |
| Reserve tank | 3,8 l |
| Motor oil after draining and replacing the oil filter | 2,3 l |
| Coolant | 2,0 l |
| Front tyre | 90/90-21 |
| Rear tyre | 130/80-17 |
Adjustment: Heavy Duties Panniers
Christmas 2015: The big motorbike-job-days for our order from Romania – Heavy Duties Panniers.
Already a few weeks there were three boxes from Romania standing next to the dining table in our houseboat, where very little space was left. When unpacking one of the boxes I was surprised by the high quality and workmanship. I think we have not made the wrong choice by ordering these panniers from ‘a country far away’. It is always exciting: “Will they arrive?”, “Is the order complete?”. The stories of other motorcyclists were purely positive and therefore we finally decided to purchase these panniers online. At the reviews, however, was one downside: the odd delivery location. Together with a friend Bertha picked up the boxes last month at a shadowy caravan site in Amsterdam, where they undoubtedly could pick drugs, weapons and women.


Anyway, when opening the boxes, the order showed to be complete. Alex (contact of Heavy Duties) even had added a few Romanian chocolate bars. Very sweet, but these chocolate bars were not really our kind of thing.
On Christmas Eve we sang Christmas songs until the early morning in the ‘Warme Deken / Warm Blanket’ (a friends’ cafe on a Holiday Park called ‘Eigen Wijze / Own Way’ in Bant). This was not really an ideal preparation for our day to tinker with motorbikes. “Are there people who die from a hangover?” Fortunately, Bertha feels great and we start to tinker with optimism!
Without instructions and only with a few pictures from the internet we should finish the job. We must move the indicators on the rear part to install the pannier rack. It is kind a job to only replace these indicators, because to replace these, we have to remove the carrier of the topcase, the bottom plate and the tail light. After that we can remove the indicators and cut the power cables. I do not really have the feeling for electricity and that is way I am reluctant to this job. In advance I had looked up on the internet how to apply a cable tag with a Amp tongs, because this was the first time for us. After all everything had been better than expected. Cutting cables, moving lights, extend wires, connecting them to the cable tags and finally the testing part. At the end, everything still works!


The further installation of the pannier racks is no rocket science. The racks fit right on the existing holes. It is matter of hanging the racks in the right position, replace the top case carrier and then tighten bolts. After this, the panniers can finally be put on the motorbikes. What a great result!


Applying the 12V connections, we have to do on 2nd Christmas Day, the hangover is really at its peak. I cannot think clearly anymore! After this first tinkering day we can sit down for a well deserved meat dinner: Raclette! Delicious!
On 2nd Christmas Day, I feel much better and with a good spirit we continue to tinker and adjust the 12V-connections. The existing holes in the dashboard, which might have been for a police flashlight, are made slightly larger. Then we do the plug into the dashboard and we bring the cables neatly to the battery. At this moment we learn a very important thing about the battery. Disconnecting a battery? First remove the negative and then the positive. Connecting the battery? First connect the plus and then the minus! Otherwise, sparks shoot your ears!! The 12V-connections work, job accomplished! Very nice and proud to tinker together with the motorbikes. More of these days will come.
Adjustment: Pannier Carry Handles
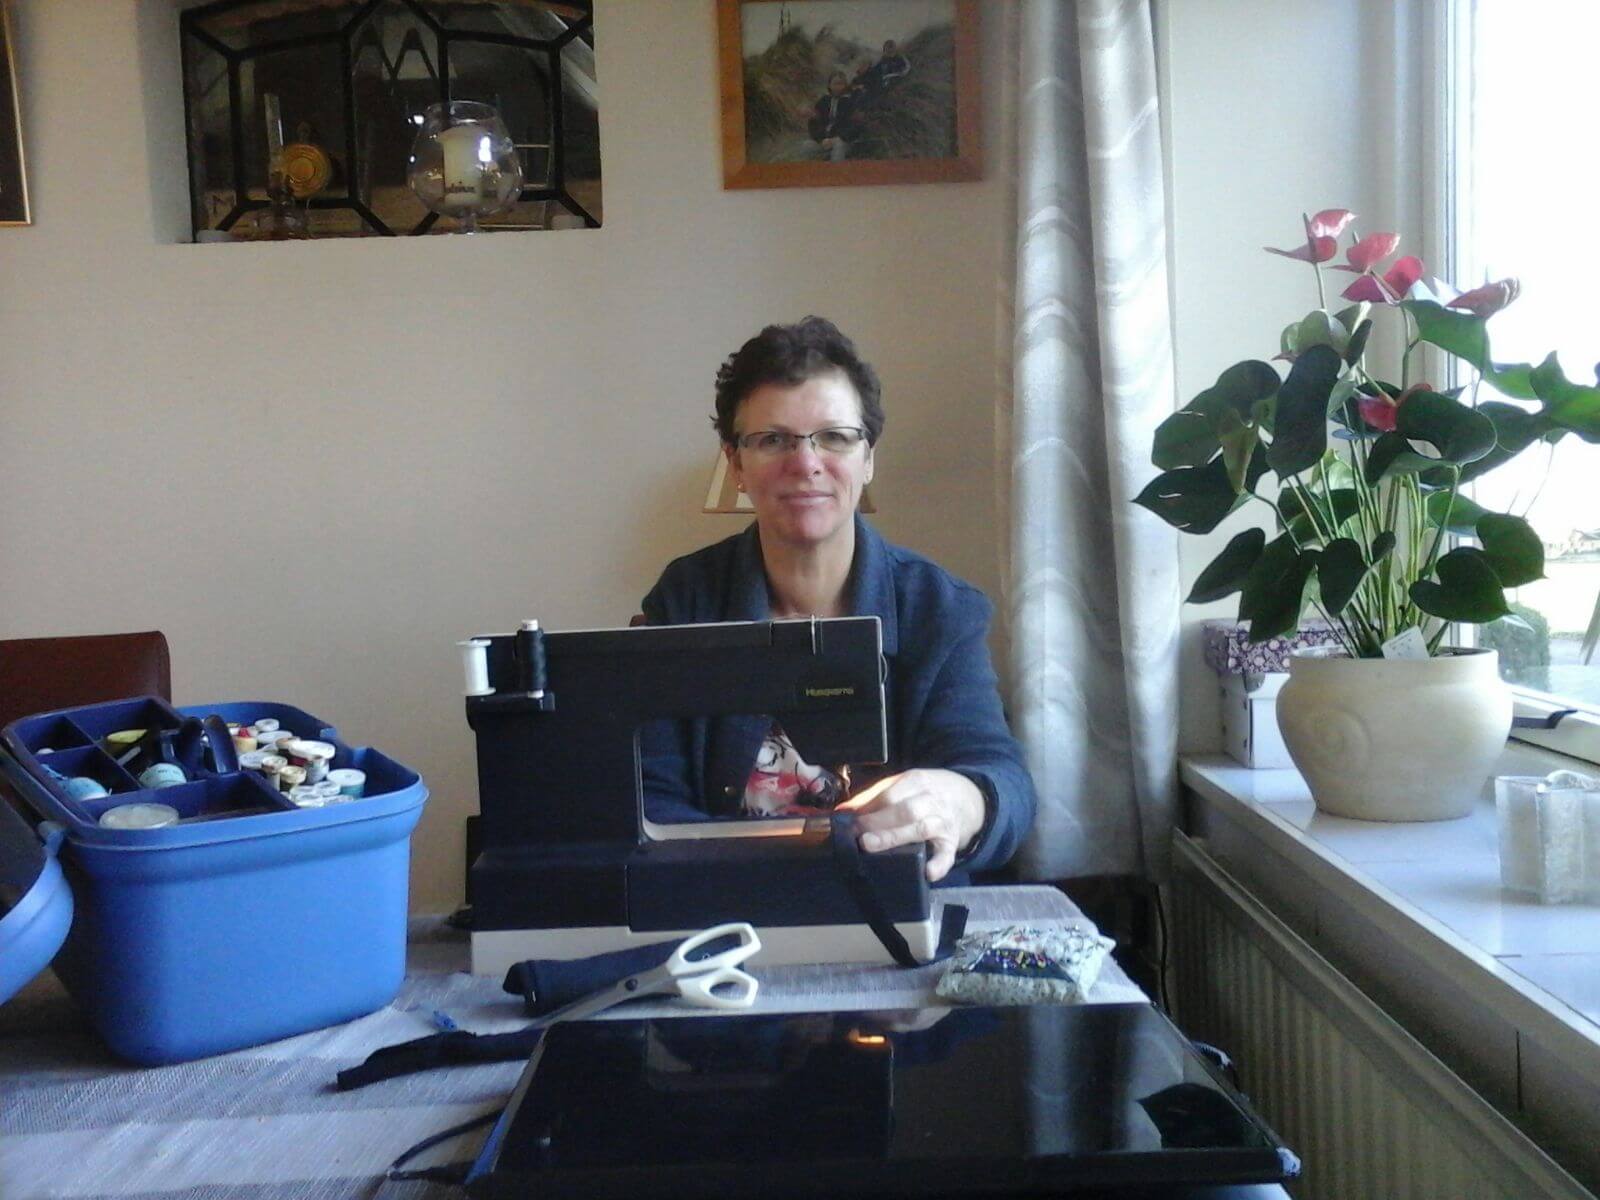
June 2016 – Champagne taste on a beer budget
After a few test rides on our motorbikes with the new panniers we find out that we need pannier carry handles. First of all to carry the panniers and second, to secure additional luggage on the panniers. After some searching on the internet these handles seem to be not that cheap, 25 to 50 euros each and we need 4! Ridiculous amounts of money! Fortunately, we have a dexterous mother(-in-law) and a creative mind. On the Albert Cuyp Market in Amsterdam we purchased for a grand total of 15 euros a few meters of ladder tape and some tiny clips. And after tinkering for 90 minutes we finished the four tailor-made carry handles! Perfect!


Adjustment: SW-Motech footpegs
December 2016 – From normal footpegs to rally footpegs.
On a cold but dry Sunday afternoon we start to mount the rally footpegs of SW-Motech. According to the manual, the footpegs will fit all types of Honda Africa Twins and Honda Transalp 600. Accidentally we have a Transalp XL 650 V…. However, according to the website where we bought these footpegs, these will also fit our motorbikes. We hope so….
We start on the crankshaft side (sitting on the motorbike, on the right side), because it will be probably difficult to remove the existing footpeg. First, (a part of) the muffler protection sheet has to be unscrewed, which is a piece of cake. Next, we remove the existing footpeg relatively easy.
The Motech footpegs manual is basic but very clear. One read together, finding the appropriate screws and ensure the new footpeg. Installing an Ikea wardrobe is more complicated. Pretty soon the footpeg on the right side is fixed and we fix the muffler protection sheet back again. The chain side (sitting on the motorbike, on the left side) is even going faster. Within 90 minutes, two new footpegs are installed on the motorbike of workshop manager Bertha.
A short test drive through our neighborhood. The position of the footpegs in relation to the clutch pedal and the brake pedal has changed. We need to drive more in order to find out whether the footpegs should be adjusted to a different position. However after a week driving we already find out that we prefer the lowest position. In this position it drives lovely.


Adjustment: crash bars and engine guard
The Heavy Duties crash bars are slightly more spacious than the original crash bars. Because the Heavy Duties have more space between the caps and the crash bars, they will never be able to touch the motorbike during a fall and this is of course the main reason to install crash bars!
Because an engine guard from metal will block more hits than a plastic one, we have chosen to replace the original ones. Erik has now a SW-Motech engine guard and Bertha does have a custom made engine guard, made by Pim Witkop (met at the Transalp Forum).

Click here for a blog about these changes.
Adjustment: tires
After much deliberation, we decided to put new tires on the bikes. We have chosen for the 50% asphalt and 50% off-road tire: The Heidenau K60 Scout.


Click here for a blog about these changes.